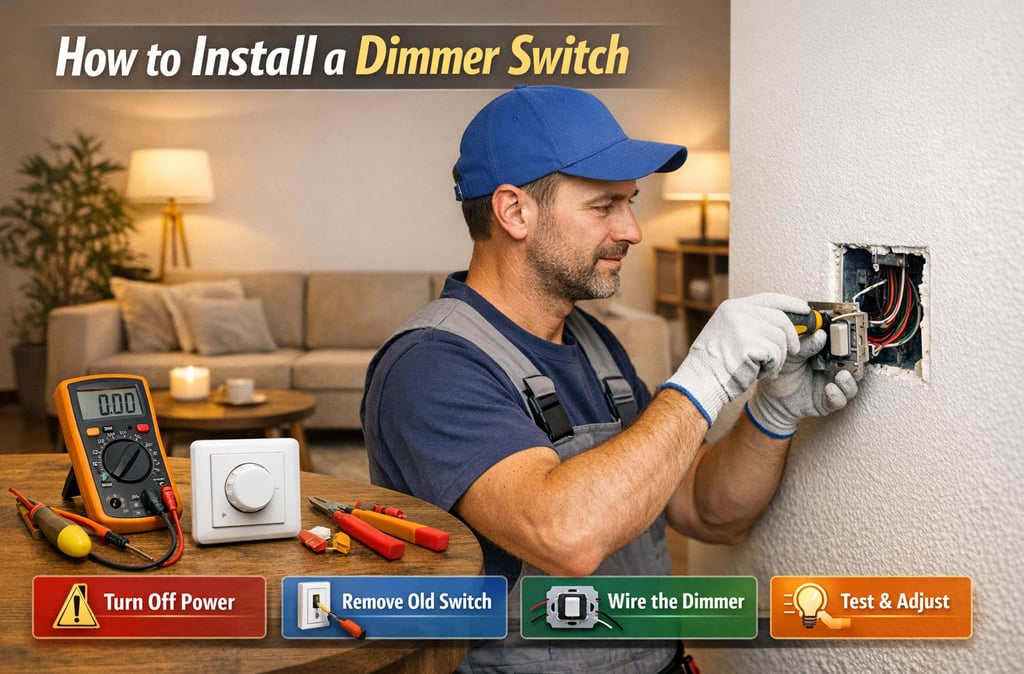
How to Install a Dimmer Switch Safely
Installing a dimmer switch is one of the easiest ways to upgrade your lighting system while saving energy and improving comfort. Instead of simply turning lights on and off, a dimmer allows you to control brightness based on mood and task. With proper safety steps and the right tools, most homeowners can complete this job in under an hour.
This guide explains how to install a dimmer switch clearly, safely, and in a way that answers the most common user questions.
What Is a Dimmer Switch?
A dimmer switch allows users to adjust light brightness by controlling voltage flow. High-quality dimmer switches are widely used in modern homes and commercial buildings.
Main benefits include:
Energy savings
Extended bulb life
Better room ambiance
Reduced eye strain
Tools & Materials Needed
Along with basic tools like a screwdriver and voltage tester, you will need a compatible dimmer switch and reliable wiring accessories to ensure safe and secure electrical connections. Using quality wiring accessories helps reduce the risk of loose terminals, overheating, and future electrical faults during installation.
i. Dimmer switch (compatible with bulb type)
ii. Screwdriver (flat and Phillips)
iii. Wire stripper
iv. Voltage tester
v. Wire connectors
vi. Electrical tape
vii. Safety gloves
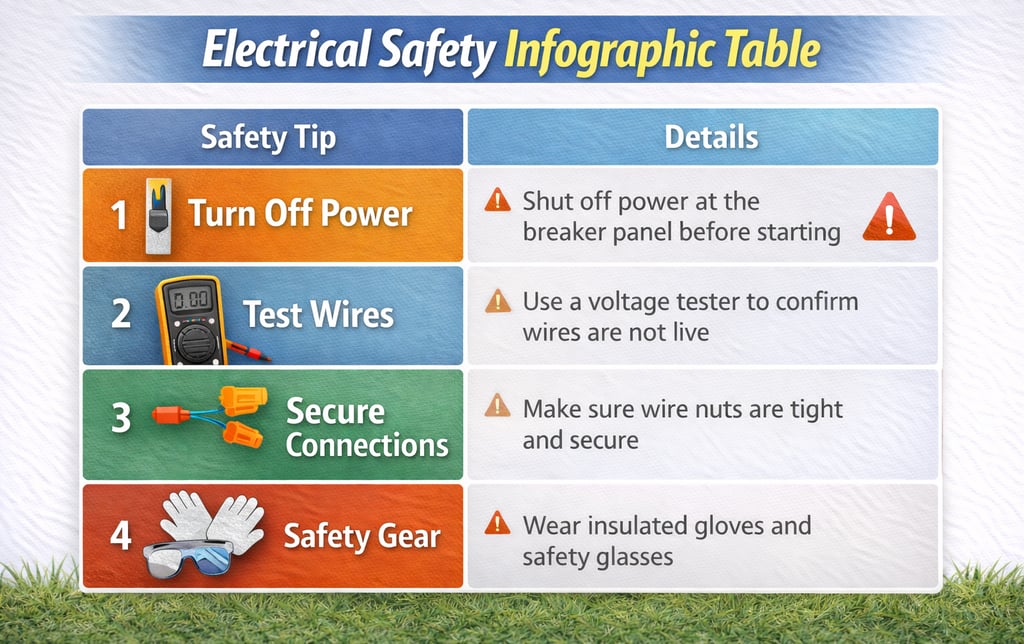
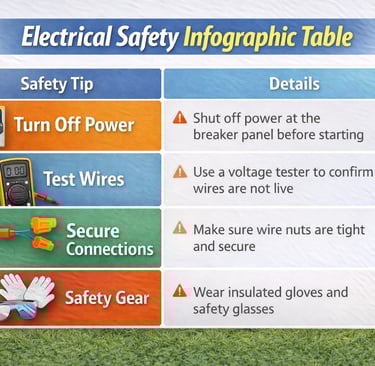
Safety First (Very Important)
Before starting:
Turn OFF power from the breaker panel
Test wires with a voltage tester
Never work on live circuits
Keep hands dry
Use insulated tools
Step-by-Step Installation Process
Modern lighting control components are designed to simplify installation while improving energy efficiency.
1. Turn Off Power
Locate the breaker controlling the switch and turn it OFF. Verify using a tester.
2. Remove Existing Switch
a. Unscrew wall plate
b. Remove mounting screws
c. Pull out switch carefully
d. Note wire connections
3. Identify Switch Type
You may have:
Single-pole switch (one control point)
3-way switch (two control points)
Label the the common wire if it is 3-way.
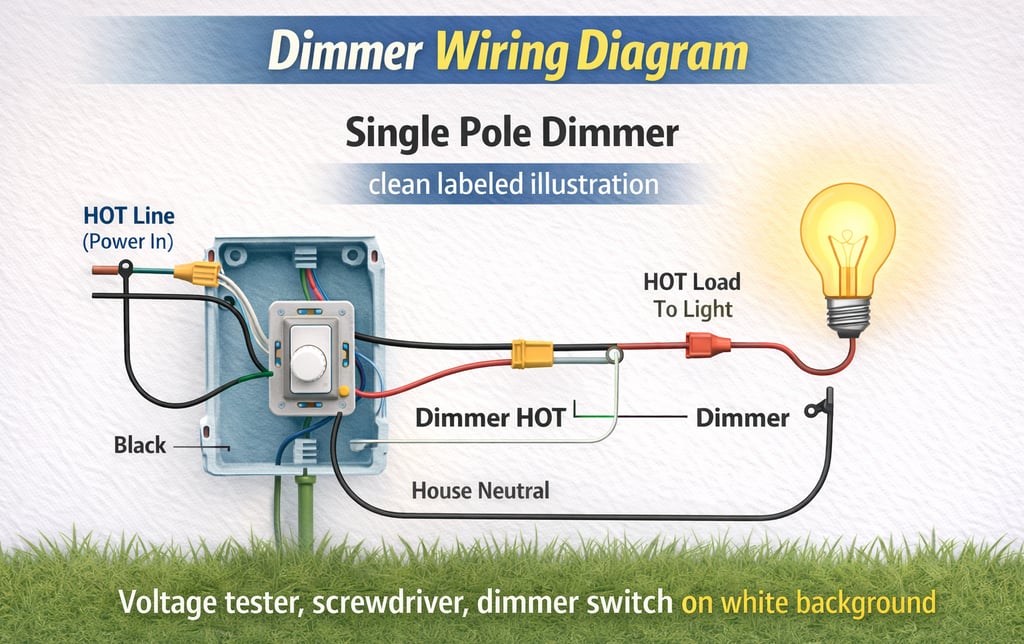
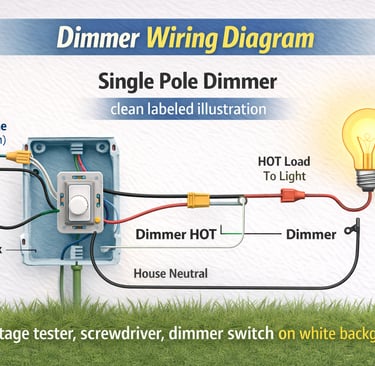
4. Connect the Dimmer Wires
Ground wire green screw
Hot/load wires match color
Neutral wire (if required): white wire
Use wire nuts tightly.
5. Mount the Dimmer
Push wires neatly inside box
Screw dimmer into position
Attach wall plate
6. Restore Power & Test
Turn the breaker ON and:
Check brightness range
Ensure no flickering
Ensure smooth control
Bulb Compatibility Matters
Use only dimmable bulbs:
Incandescent
Halogen
LED (must say “dimmable”)
CFL (dimmable type only)
Wrong bulbs cause:
Flickering
Buzzing
Short lifespan
Common Problems & Fixes
Flickering: wrong bulb type
Buzzing: low-quality dimmer
No light: loose wiring
Overheating: overloaded circuit
When to Call an Electrician
1. No ground wire
2. Complex 3-way wiring
3. Old wiring system
4. Unsure about safety
Conclusion
Installing a dimmer switch is a practical upgrade that improves lighting control and energy efficiency. With basic tools and careful wiring, many users can complete the task themselves. However, professional installation ensures safety and long-term reliability, especially in complex wiring setups.
For those seeking quality components and professional-grade electrical solutions, it is recommended to contact reputable lighting and electrical service providers who use certified products such as dimmer switches and wiring accessories. Learn more about quality dimmers and sockets switch to ensure safe and effective installation.
FAQs
1. Can I install a dimmer switch myself?
Yes, if wiring is simple and safety steps are followed.
2. Do dimmers work with LED bulbs?
Only with dimmable LEDs.
3. Why does my dimmer flicker?
Bulb incompatibility or loose wiring.
4. How long does installation take?
About 20–40 minutes.
5. Do dimmers save electricity?
Yes, by reducing power output.